Pottery wheels have been used for centuries to craft bowls, plates, mugs, and other vessels. Although the tools and techniques used to create pottery have changed over the years, the fundamentals remain the same. Here is a beginner’s guide to working with a pottery wheel.
Gather Supplies
The first step to working with a pottery wheel is gathering the necessary supplies. This includes a pottery wheel, clay, tools, and a kiln. Depending on the type of pottery you plan to make, you may also need glazes, underglazes, and other materials. If you want to know how to use a pottery wheel then you may visit this website.
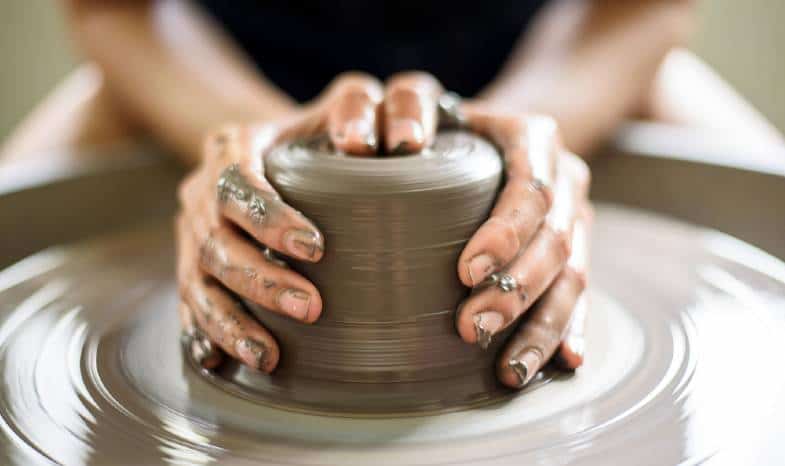
Image Source: Google
Prepare the Clay
Once you have all your supplies, it is time to prepare the clay. Start by wedging the clay, which is the process of kneading it to remove air bubbles and ensure it is evenly mixed. This step is incredibly important, as it will prevent your pottery from cracking during the firing process.
Throw the Clay
Now it’s time to throw the clay. Place the clay in the center of the wheel and begin spinning it. Using your hands, shape the clay into the desired form. As you work, keep an eye on the evenness and consistency of the piece.
Trim and Finish
Once the desired shape has been achieved, it’s time to trim and finish the piece. Trimming involves cutting away excess clay and smoothing the edges. You can also add decorative elements to the piece using a variety of tools.
Fire and Glaze
The last step is to fire and glaze the piece. Place the pottery in the kiln and fire it to the desired temperature. You can also apply glaze to the piece for a unique finish.